Showing posts with label COOKING. Show all posts

Sunday, 10 March 2013

LIFESTYLE | MORE BAKING AT INKWELL...


I had another afternoon of fun and baking at Inkwell last Friday, this time with my baking buddy David! We bake on the Friday afternoon so that there are cakes to sell in the Cafe the next day. Last week's cakes were a MAJOR success so I was asked back to bake this week!

To learn more about Inkwell visit my previous post HERE.


We made some nut and seed flapjacks...


Some peanut butter and banana muffins...


...and some smaller versions with cinnamon buttercream frosting.
(This was our first attempt at using a piping bag - please forgive us!).


Also in the kitchen was some delicious home made roasted red pepper soup...


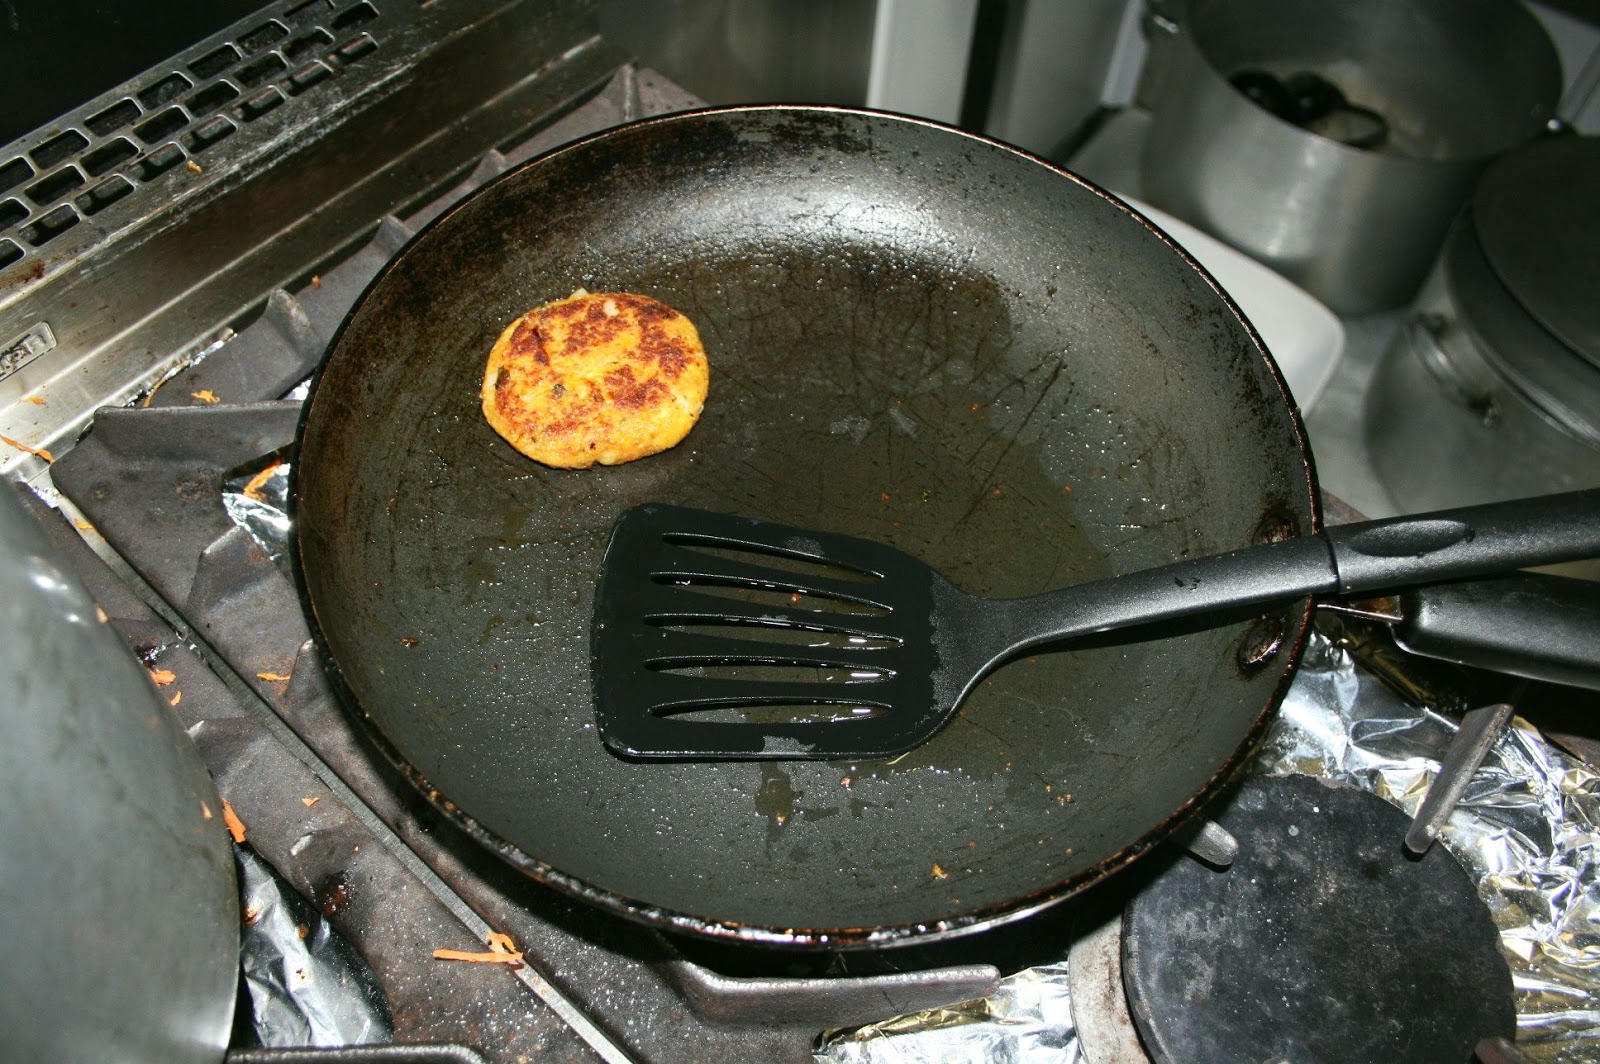
...and some carrot and chickpea veggie burgers!


I love being able to experiment and get creative in the kitchen and it's great to know that we can do it for a good cause too. I'll be back again next week with some vegan cakes and a few more wonders.


Do you like my hat (and my flapjacks)?


Sunday, 23 December 2012

RECIPE | MINCE PIES

I've been busy busy with this heavy workload, etc... second assignment completed and now it's time to embrace the festive season!

To start it off, Papa Wood let me join in with the annual Mince Pie baking this year.
This also means that I learnt how to make my first ever sweet shortcrust pastry (the trick is cold hands!).


 MINCE PIES

Ingredients:

450g Plain Flour
3tbsp Ground Almonds (Optional)
Pinch of Salt
225g Butter
50g Icing Sugar
2 Egg Yolks
4tbsp Iced Water
900g Mincemeat
Beaten Egg to Glaze
Icing Sugar to Dust (Optional)


Instructions:

1. Preheat the oven to 190°C.

2. Sift flour, ground almonds and salt into a mixing bowl. Rub in the butter until you have what resembles fine crumbs. Mix in the icing sugar.

3. Make a well in the centre of the mixture and stir in the egg yolks.

4. Gradually stir in enough water to make a soft but not too sticky dough.

5. Wrap the dough in cling film and refrigerate for an hour.

6. Roll out two thirds of the dough and cut out rounds using a 6cm fluted cutter. Use these to line yorkshire pudding/cupcake/muffin trays to make the base of the mince pie (you should get around 30).

7. Fill the pies with mincemeat (be careful not to stuff them, a heaped teaspoon should do).

8. Re-roll the rest of the pastry and either cut it into rounds with 5cm fluted cutter or get creative and make patterns or designs with the pastry. Place on top of the pie.

9. Make sure the pies are sealed with pastry and then prick two air holes in the top of each pie. Glaze with the beaten egg and then place them in the oven for 20 minutes or until pale golden brown.

10. Dust with icing sugar and serve hot with brandy butter, ice cream or cream.


This is a recipe that has been adapted from the 'Family Circle' magazine from December 1989 (it's older than me!). It's the recipe we've always used and always will continue to use.
I hope you enjoy them!


Tuesday, 28 August 2012

I'M STILL ALIVE. JUST ABOUT...


 Highlights of my 
M  U  N  D  A  N  E 
life as of late...


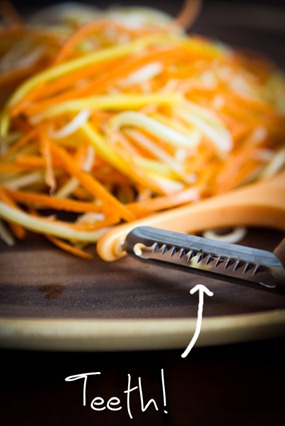
# 1  I bought a JULIENNE PEELER!

Off eBay. £1 (Okay...£1.70 with p&p if you want to get specific).
Inspiration came from THIS post over at Oh She Glow's (a lovely vegan blog).
You can make veggie spaghetti, noodles, etc...the possibilities are endless!

(Photo: Ohsheglows)


# 2  I made yet ANOTHER courgette cake.

A mixture of the first and second cakes I previously posted as this was a lime and coconut loaf.
No frosting though but we shall not divulge into that right now...
*Note to self: Fat-free cream cheese does NOT make good frosting.


# 3  I have now pretty much COMPLETED RESEARCH FOR MY DISSERTATION.

And this is probably COMPLETELY pointless as I still havn't really thought of a solid title, been assigned a tutor or even been contacted about my department regarding anything dissertation-related. Nice one. Ah well.
Oh, and I also made labels for my dissertation/module folders for this term...


# 4  I've been making DIY POLAROIDS!

Using my snazzy new Kodak Printer, some freebie photo paper and this swanky little free programme called Poladroid which you can download HERE.


# 5  ...and I've entered a whole new level with my love for ORGANISING.


I had a little clean up and sorted out my main diary (which in case you wanted to know is THIS trusty personal sized chameleon Filofax).


Things-to-do list from A Pair of Pears blog (you can download it HERE) and a very unprofessional homemade calendar courtesty of Microsoft Publisher.


...and last but not least.
Recycling egg boxes into jewellery holders.